A leaking metal roof screw rarely stays a small problem for long. What starts as a slow drip around one fastener can spread into insulation damage, rusting purlins, stained ceilings, wet stock, and production disruption. If you need to know how to fix roof screw leakage, the first priority is to identify whether the issue is a failed washer, an overdriven screw, a loose fixing, panel movement, corrosion, or a wider waterproofing failure around the roof sheet.
On industrial and commercial roofs, screw leakage is usually a symptom, not just a single-point defect. That matters because replacing a few screws may stop water temporarily, but it will not always solve the underlying movement, aging, or installation issue that caused the leak in the first place.
Why roof screws start leaking
Metal roof screws are designed to create a watertight seal through a bonded washer, usually neoprene or EPDM, compressed between the screw head and roof sheet. When that seal is installed correctly, it resists rain, thermal expansion, and surface runoff. When it fails, water finds the easiest path through the penetration point.
The most common failure is washer deterioration. Heat, UV exposure, and age can harden or crack the washer until it no longer seals against the panel. In other cases, the screw is overdriven, which deforms the washer and squeezes it out of shape. Underdriven screws can be just as problematic because they leave a gap where water can enter.
There are also structural and installation factors. Roof sheets expand and contract, especially on long-span industrial roofing exposed to Gulf heat. That movement can loosen fasteners over time. Corrosion around the screw hole can enlarge the opening. If screws were installed off-center or into weak substrate, the fixing may never have been stable to begin with.
How to fix roof screw leakage without missing the real cause
The correct repair method depends on the roof condition, screw pattern, sheet profile, and extent of leakage. A targeted repair can work well on isolated defects. A full screw line treatment or waterproofing system is usually more reliable when leaks are widespread.
Start with a controlled inspection. Do not rely only on the interior leak point. Water can travel along the panel profile, insulation facing, or purlin line before it becomes visible inside the building. The actual failed screw may be several feet upslope from where the drip appears.
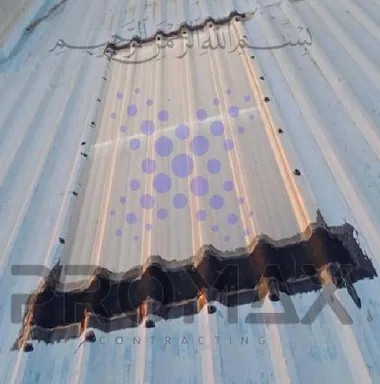
Check for screws that are visibly loose, tilted, rusted, missing, or backed out. Look closely at washers for splitting, flattening, or shrinkage. Also inspect the sheet around the fastener. If the metal is distorted, corroded, or cracked, simply tightening the screw will not be enough.
Step 1: Remove failed fasteners carefully
If the screw is leaking, damaged, or corroded, remove it rather than trying to seal over it blindly. Surface patching around a defective screw head often fails because the fastener continues to move with the panel. Once removed, inspect the hole diameter and substrate condition.
If the hole is sound and the substrate still has holding strength, install a new oversized roofing screw with a high-quality bonded washer. The washer should compress evenly, not bulge outward. That compression is what creates the seal.
If the hole has become oversized or stripped, a larger screw may work, but only if the substrate can still accept it properly. If not, the fixing location may need to be shifted or the support below repaired. This is where many short-term repairs fail. The screw feels tight on day one, then loosens again after thermal movement and rain exposure.
Step 2: Replace with the right screw and washer system
Not all replacement screws perform the same way. On commercial roofs, material compatibility matters. Fasteners should be suitable for the roof sheet type, coating system, and environmental exposure. In coastal or corrosive industrial settings, using the wrong fastener can accelerate rusting and create another leakage cycle.
EPDM-bonded washers generally offer better long-term weather resistance than low-grade alternatives. The screw length and thread type must also match the roof assembly and support condition. A technically correct replacement is more important than a quick one.
Step 3: Seal only where sealing is actually appropriate
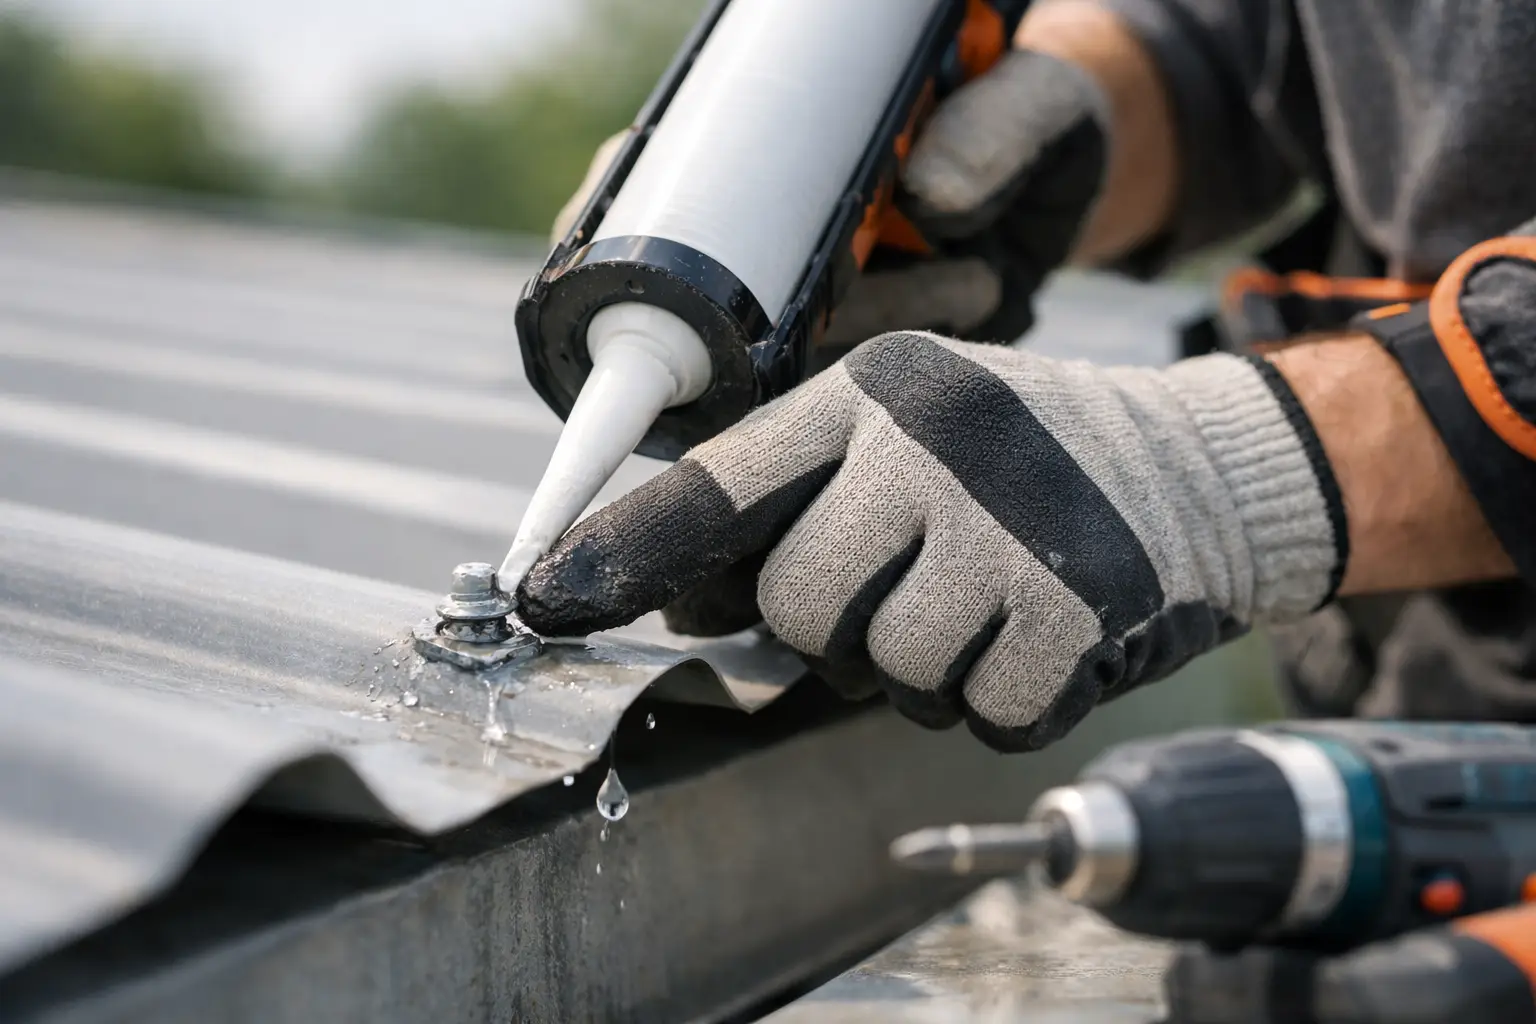
Sealant has a role, but it should not be treated as the main repair for every screw leak. If you apply sealant over a loose fastener, cracked washer, or corroded opening, the repair may hold briefly and then separate. Good practice is to first correct the mechanical failure, then apply a compatible sealant or liquid waterproofing detail where the system design calls for it.
For example, after replacing fasteners in a known leakage zone, some contractors reinforce the line with an EPDM-compatible detailing layer or roof-grade sealant to improve water resistance. That approach is more dependable than smearing generic mastic over exposed screw heads.
When a simple screw replacement is not enough
If leakage appears at multiple fastener lines, the roof may be telling you that the problem is now systemic. This is common on older warehouse roofs where thousands of screws have been exposed to years of heat cycling, ponding, dust, and corrosion. Replacing isolated screws in that situation is reactive maintenance, not a durable solution.
A broader treatment may include full fastener replacement, localized sheet repairs, lap joint sealing, gutter correction, and membrane-based waterproofing over vulnerable zones. It depends on the roof age and operating risk. If the building stores inventory, houses electrical equipment, or supports production lines, the cost of recurring leaks usually exceeds the cost of a proper system repair.
Signs you need more than a spot repair
If interior leaks reappear after past sealing, if screw heads show widespread rust, or if roof sheets are vibrating and moving under wind load, the issue has moved beyond one or two bad fixings. The same applies if there is visible corrosion around washer seats, recurring leaks near skylights and penetrations, or multiple fasteners backing out across the same slope.
In those cases, a roof condition assessment is the right next step. A proper inspection should review fastener integrity, sheet condition, overlaps, flashing details, drainage behavior, and substrate stability before recommending the repair scope.
How to fix roof screw leakage on active industrial buildings
Occupied industrial buildings need a repair method that controls risk without disrupting operations. That means the leak response should be planned, not improvised. Safe roof access, moisture tracing, material compatibility, and sequencing all affect the outcome.
For active facilities, repairs are often phased. Immediate leakage points are controlled first to protect assets and operations. After that, the contractor can address the surrounding fastener lines, joints, and drainage details that are contributing to repeated failure. This staged approach works well when the building cannot shut down or when different roof zones are in different condition.
There is also a trade-off between speed and service life. A quick emergency seal may stop water ingress before the next rain event. A longer-lasting repair usually requires removal of failed components, detailed substrate checks, and a more complete waterproofing treatment. Facility teams should be clear about which objective they are paying for.
Common mistakes that make screw leaks worse
One of the most common mistakes is overtightening replacement screws. Installers often assume tighter means better, but crushing the washer destroys the seal. Another mistake is reusing old screw holes without checking pull-out strength. If the substrate has weakened, the screw will not remain stable.
Using household sealants, coating over rust without treatment, or replacing only the visibly leaking screws are also poor practices on commercial roofs. Water entry points are often clustered, and roof movement affects entire fastener lines, not just one screw head.
Temporary patching has its place during emergency response, but it should lead to a proper corrective scope. Otherwise, maintenance teams end up paying for the same leak repeatedly.
A more durable repair strategy
The most reliable answer to how to fix roof screw leakage is to treat it as part of the roof system, not as a standalone defect. That means combining inspection, fastener correction, substrate verification, corrosion treatment, and waterproofing details where needed. On large-span metal roofs, this system approach consistently outperforms isolated patch jobs.
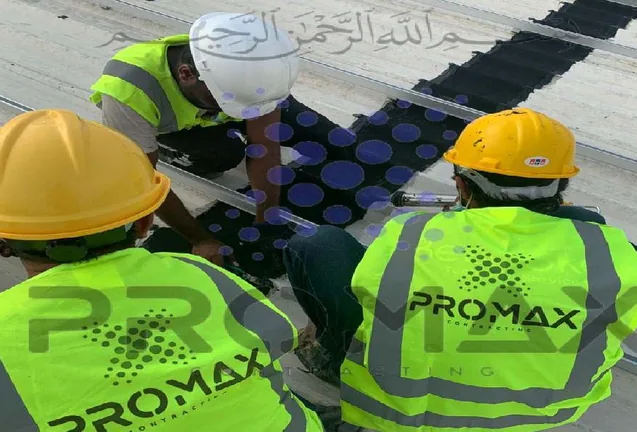
For commercial and industrial properties, the right contractor will assess whether the roof needs spot replacement, fastener line rehabilitation, or a wider metal roof waterproofing system. Promax Contracting typically sees the best results when screw leakage is addressed together with panel laps, penetrations, and drainage weak points rather than in isolation.
If your roof is already showing repeated screw leaks, treat that as an early warning. Fix the failed fasteners, but also ask what changed in the roof assembly to let water in. That question usually saves more money than the first repair itself.
Talk to Promax
Need this on your roof? Call +971 56 727 4205 or request a free inspection. Promax provides EPDM metal-roof, concrete and industrial waterproofing across Dubai and the UAE with up to a 15-year warranty.