Roof curb leaks rarely stay small. Water entering at an AC unit, exhaust fan, skylight base, or equipment platform can travel beneath the roof system and show up far from the actual failure point. Knowing how to seal roof curbs correctly means treating the curb as a complete waterproofing detail, not simply applying sealant around its edges.
On commercial roofs, a curb must manage standing water, thermal movement, wind uplift, equipment vibration, and constant UV exposure. A repair that looks acceptable from the roof surface can still fail if the membrane does not turn up the curb correctly, the corners are not reinforced, or the termination edge is left exposed.
Start With a Roof Curb Inspection
Before selecting a sealant or membrane, inspect the curb, surrounding roof area, and equipment connection. The visible leak may be caused by a loose counterflashing, an open membrane lap, failed fasteners, corrosion, or ponding water against the curb.
Check whether the curb is structurally sound and sufficiently high above the roof surface. A low curb is more likely to be overtopped during heavy rain or affected by ponding. For mechanical equipment, inspect the curb-to-equipment joint as well. Many leaks come through the top connection between the unit and curb, then drain into the building cavity.
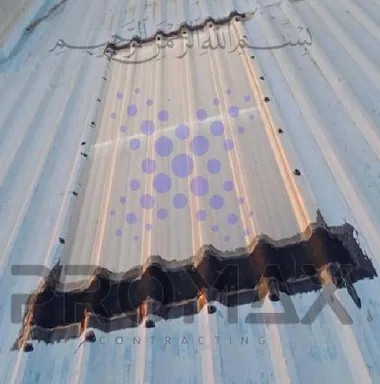
A proper inspection should identify cracked or split membranes, lifted flashing edges, open corners, deteriorated sealant, rusted metal surfaces, and signs of trapped moisture. On metal roofs, inspect the roof sheet profile and fastener lines around the curb. On flat or low-slope roofs, assess drainage paths and determine whether water is collecting against the vertical curb face.
Do not apply a new waterproofing layer over wet insulation, unstable substrate, loose rust, or existing failed materials. Surface preparation determines whether the repair remains intact after the first season of heat and rain.
Materials Needed to Seal Roof Curbs
The correct system depends on the existing roof construction. EPDM, modified bitumen, PVC, TPO, liquid-applied systems, and metal roof waterproofing details each require compatible components. Mixing incompatible materials can lead to poor adhesion, chemical reactions, or premature membrane failure.
For most commercial roof curb repairs, the installation team will require:
- Compatible primer, cleaner, and approved sealant
- Reinforced waterproofing membrane or flashing material
- Preformed or field-fabricated corner patches
- Termination bar, mechanical fasteners, and closure strips where required
- Metal treatment materials for corroded curbs or flashings
- Protective coating where the specified system requires UV protection
Sealant is an accessory to a waterproofing detail, not the primary defense against water. It is used at termination bars, counterflashings, fastener heads, and small transition points. The main water barrier should be a correctly bonded and mechanically secured flashing system.
How to Seal Roof Curbs Step by Step
1. Make the Area Safe and Isolate the Equipment
Coordinate with the facility team before work begins. HVAC units, extract fans, electrical conduits, and process equipment may need isolation to allow safe access. On active warehouses and industrial facilities, the work area should be controlled so roof repairs do not interrupt operations or create safety risks below.
Remove loose debris, old failed sealant, damaged membrane sections, and unstable flashing. If the curb has severe corrosion, the affected metal may need repair or replacement before waterproofing starts. Waterproofing over perforated or weak metal only hides the problem temporarily.
2. Clean and Prepare the Substrate
The roof deck, curb face, and surrounding membrane must be dry, clean, and free of dust, oil, oxidation, and loose coatings. This is especially critical in hot climates, where dust buildup and surface heat can compromise adhesion.
Prepare metal curbs by removing rust and treating the cleaned surface with the specified metal primer or corrosion-control system. For existing membranes, use the cleaner and primer approved for that membrane type. If the roof surface is badly weathered, brittle, or saturated, localized repairs may not be enough. A wider rehabilitation detail may be required.
3. Repair the Horizontal Roof Surface First
Do not begin by wrapping the curb if the roof field membrane immediately around it is split, unstable, or poorly attached. Repair the surrounding horizontal area first so the curb flashing has a sound surface to bond to.
The flashing should extend onto the roof surface far enough to create a reliable transition. The exact dimension depends on the roof system, manufacturer requirements, curb size, drainage conditions, and wind exposure. Short patches may save material initially but tend to fail where the new repair meets the old roof membrane.
4. Flash the Vertical Curb Faces
Apply the approved primer where required, then install the flashing membrane from the roof surface upward onto the curb face. The membrane must be fully bonded without voids, wrinkles, fishmouths, or trapped air.
Pay close attention to membrane direction. Water should always be directed over laps, not against exposed lap edges. On a curb located in a drainage path, the upslope side typically requires the most careful detailing because it receives the highest water load.
For large curbs, install the membrane in manageable sections and maintain specified overlap dimensions. Do not stretch flashing materials around corners. Stretching creates tension that can pull the membrane back as it ages.
5. Reinforce Every Corner
Corners are the highest-risk points in any roof curb detail. They combine changes in direction, membrane stress, and concentrated water flow. A single layer of flat flashing membrane often cannot conform tightly to an outside or inside corner without creating folds.
Use compatible preformed corners or carefully fabricated reinforcement patches. Press the membrane firmly into the corner transition and inspect for pinholes, bridging, or voids. If the curb has irregular shapes, welded brackets, pipe supports, or conduit penetrations, those transitions need individual detailing rather than a broad application of mastic.
6. Secure the Top Edge With a Proper Termination
A membrane that turns up the curb needs a secure upper termination. Depending on the curb construction and system specification, this may involve a termination bar, reglet detail, compression edge, counterflashing, or manufacturer-approved adhesive method.
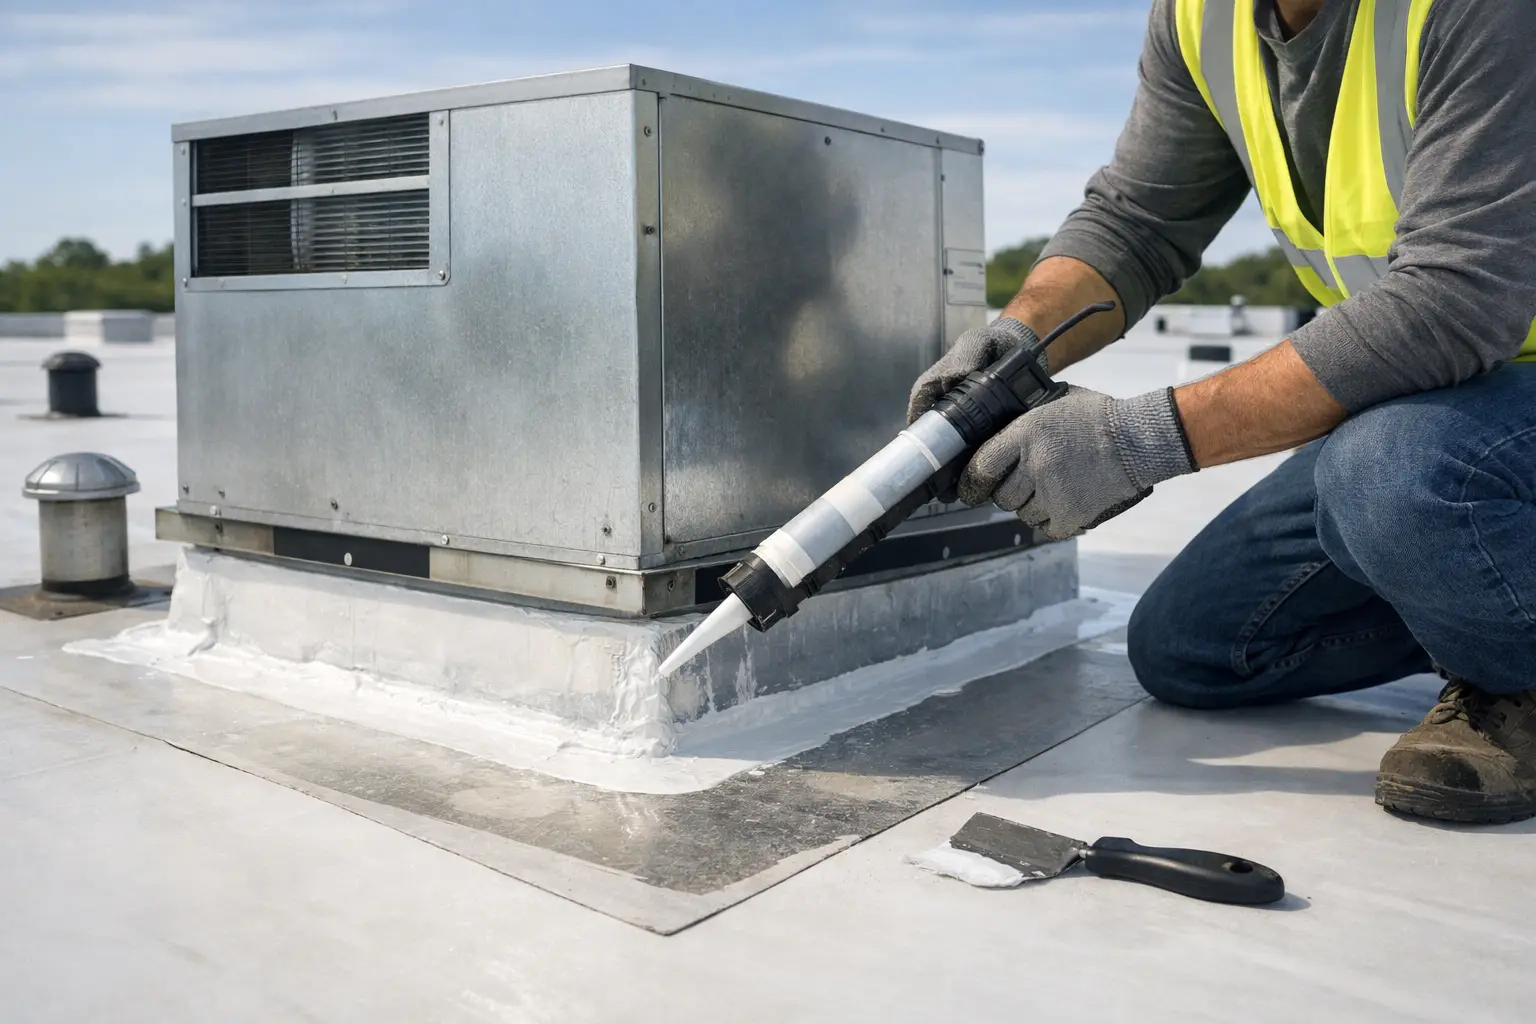
Mechanically fasten the termination at the required spacing, keeping fasteners straight and properly seated. Apply sealant along the top edge where the detail requires it, then inspect each fastener head and joint. The sealant should form a continuous weather seal, but it must not be used to cover poor fastening or open membrane edges.
Where an existing metal counterflashing is serviceable, reseal and secure it. Where it is corroded, undersized, or poorly lapped, replacement is usually the more durable decision. Fabricated metal flashings should direct water away from the membrane termination and allow for thermal movement.
7. Test the Detail Before Demobilization
Visual inspection is essential, but it is not always enough. Check all laps, corners, terminations, fasteners, and transition points before equipment is returned to service. When roof conditions allow, controlled water testing can help verify that the curb detail sheds water properly.
Avoid uncontrolled flooding, particularly on older roofs or roofs with known drainage issues. A controlled test should be planned so the source of any water entry can be identified quickly. Document the repair area with photographs and note the materials used for future maintenance records.
Common Roof Curb Sealing Failures
The most common failure is relying on exposed sealant alone. Sealant cracks under UV exposure and movement, particularly around vibrating mechanical equipment. Another frequent issue is terminating the flashing too low on the curb, allowing water to reach the upper edge during ponding or wind-driven rain.
Poor corner detailing, incompatible materials, and membrane adhesion over dusty or damp surfaces also cause repeat leaks. On metal roofs, installers sometimes seal over rusted curb skirts or fastener lines without correcting corrosion and sheet movement. The result is a repair that may look watertight initially but opens again as the metal expands and contracts.
Drainage is equally important. If water regularly ponds against a curb, improve the local drainage condition where practical. Waterproofing performs best when it is not constantly submerged or subjected to debris buildup at the base of the vertical flashing.
When a Local Repair Is Not Enough
A localized curb repair is appropriate when the roof system around the penetration remains sound. If multiple curbs are leaking, membrane seams are failing across the roof, insulation is wet, or corrosion is widespread, the facility may need a broader roof rehabilitation scope.
This is where a site inspection adds value. The contractor should distinguish between a failed curb detail and a failing roof assembly. Treating every leak as an isolated sealant repair can increase maintenance spend while the underlying roof condition continues to deteriorate.
For warehouses, plants, and large commercial facilities in high-heat, high-UV environments, planned inspections after major weather events can prevent small curb defects from becoming operational disruptions. A properly prepared, reinforced, and terminated curb detail protects more than the roof surface - it protects equipment, stock, electrical systems, and the building operations below.
Talk to Promax
Need this on your roof? Call +971 56 727 4205 or request a free inspection. Promax provides EPDM metal-roof, concrete and industrial waterproofing across Dubai and the UAE with up to a 15-year warranty.