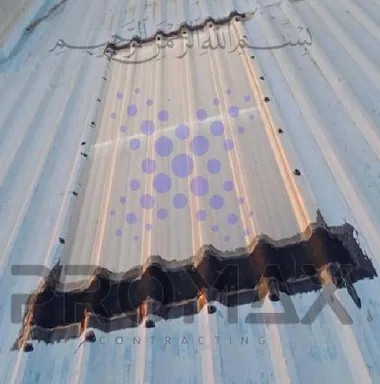

A leaking expansion joint is rarely just a sealant problem. On a warehouse roof, concrete deck, parking structure, facade connection, or metal-clad building, it is usually evidence that movement, drainage, substrate condition, and waterproofing continuity were not addressed as one system. Knowing how to waterproof expansion joints correctly protects the structure beneath, prevents corrosion and interior damage, and avoids repeated patch repairs that fail during the next temperature cycle or heavy rainfall.
Expansion joints are designed to move. The waterproofing system must allow that movement without tearing, debonding, or creating a low point where water can collect. This is why joint treatment should be selected after inspection, not by applying a generic sealant over an opening.
Why Expansion Joints Fail in Commercial Buildings
Concrete, steel, roof membranes, wall panels, and parapet elements expand and contract at different rates. In hot climates, surface temperatures can change dramatically between daytime exposure and nighttime cooling. Building movement can also result from structural loading, settlement, vibration, and wind pressure.
When an expansion joint is bridged with a rigid material, the joint may crack beside the repair. When the wrong sealant is used, it can lose adhesion, become brittle under UV exposure, or stretch beyond its movement capacity. A joint can also leak because water is entering behind loose terminations, damaged flashing, failed fasteners, or an adjacent drain area.
The visible opening is not always the source of the problem. A proper inspection follows the water path across the roof or facade and checks whether the joint system has failed at its edges, transitions, laps, corners, or terminations.
How to Waterproof Expansion Joints: Start With Inspection
Before any material is installed, inspect the full length of the joint and the surrounding waterproofed area. Measure the joint width at multiple locations. A joint that varies significantly in width may indicate movement, substrate damage, or previous repairs that are restricting the joint.
The inspection should identify the joint location and orientation, expected movement, exposure to standing water, condition of the existing membrane, and type of substrate on each side. A roof joint between concrete sections needs different detailing than a wall joint, a metal roof transition, or a connection where concrete meets a steel frame.
Check for cracked concrete edges, loose mortar, rusted metal, failed sealant, open laps, wet insulation, and blocked drainage. If the surrounding area is saturated or deteriorated, treating only the joint can trap moisture beneath the repair and shorten its service life.
For large facilities, a controlled water test can help confirm the entry point after visual inspection. Testing should be localized and staged. Flooding a broad roof area at once can make diagnosis harder, especially where water travels beneath membranes before it appears inside the building.
Select a System That Matches Joint Movement
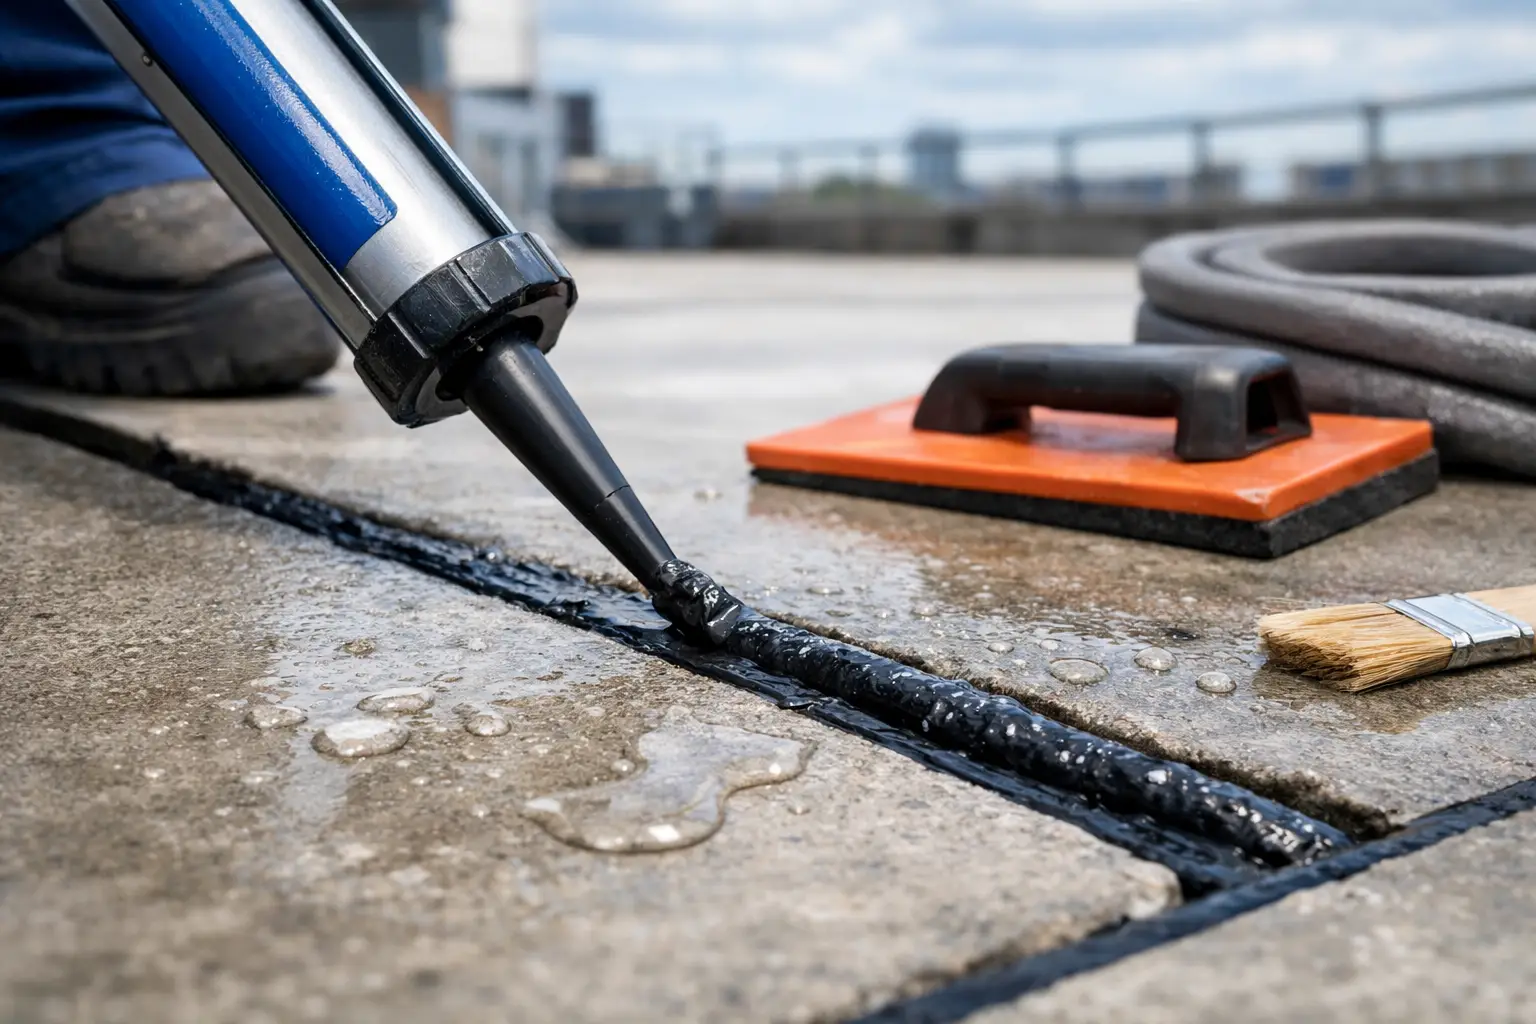
The right waterproofing method depends on joint movement and exposure. Small joints with limited movement may be treated with a properly sized backer rod and high-performance elastomeric sealant. Wider or more active joints generally require a dedicated expansion joint system with a flexible membrane, reinforced transition zones, and secure edge terminations.
A sealant-only treatment is appropriate only when the joint geometry, movement range, and exposure conditions support it. It is not a substitute for a bridge membrane over an active roof joint. On horizontal surfaces exposed to rainfall, a reinforced EPDM or compatible membrane system often provides more reliable protection because it creates a flexible waterproof cover while allowing the joint to open and close below.
Compatibility matters. The primer, adhesive, sealant, membrane, metal termination, and existing roof material must work together. Some materials can stain, soften, or lose adhesion when placed against incompatible compounds. This is particularly relevant where older bituminous coatings, PVC membranes, metal panels, and elastomeric systems meet.
Prepare the Joint Before Waterproofing
Most premature failures begin with poor surface preparation. The joint edges must be sound, dry, clean, and free from dust, oil, loose coating, corrosion, old failed sealant, and weak concrete. Any damaged substrate should be repaired before waterproofing begins.
Remove previous patch material carefully without damaging the joint edges. Where concrete has spalled or cracked, rebuild the edge with a compatible repair mortar and allow it to cure as required. Where steel components are corroded, remove rust, treat the surface, and apply the approved protective coating before installing the joint system.
The joint itself must remain open and functional. Do not pack it solid with mortar, foam scraps, or incompatible filler. For sealant applications, install a closed-cell backer rod at the specified depth. The backer rod controls sealant depth and creates the correct hourglass profile, allowing the sealant to stretch rather than pull away from both sides.
Surface moisture is another common issue. Some primers and adhesives tolerate limited dampness, while others require a fully dry substrate. Applying a system outside its stated conditions can lead to hidden bond failure, even if the repair initially looks clean.
Install the Waterproofing System With Movement in Mind
For a typical membrane-based roof joint, the system is installed as a flexible bridge rather than pulled tight across the gap. The membrane needs enough formed slack or bellows to accommodate expected movement. If it is stretched flat during installation, it may split or detach when the joint opens.
The membrane should extend onto sound waterproofing or properly prepared substrate on both sides of the joint. Edge zones are primed or bonded according to the system specification, then rolled firmly to remove air pockets and ensure full contact. Reinforcement may be required at changes in direction, upstands, corners, and transitions to parapets or wall flashings.
Metal termination bars, cleats, or fabricated covers may be used where the design requires mechanical restraint and protection. Fasteners must be sealed and spaced correctly. A poorly fixed termination can allow wind-driven rain beneath the membrane, turning a small edge defect into a long leakage path.
Where the joint crosses a roof drainage route, keep the detail high enough to shed water but low enough not to obstruct flow. Drainage must be restored after installation. Waterproofing a joint while leaving ponding water beside it creates unnecessary exposure and accelerates deterioration.
Protect Transitions, Ends, and Vertical Connections
Expansion joint failures often occur at the start or end of the joint rather than in the middle. These areas need careful detailing because several materials and directions meet at once. A roof joint that terminates at a parapet, skylight curb, gutter, wall panel, or pipe support requires a continuous waterproof route with no open edge.
Vertical joint covers must be designed for wind, UV exposure, and water runoff. In some situations, a compression seal or cover plate is needed in addition to the waterproof membrane. The choice depends on the joint width, building movement, appearance requirements, and whether the location is exposed to mechanical impact.
Do not rely on surface sealant alone at complex transitions. The joint system should connect into the surrounding roof or wall waterproofing so water cannot migrate behind it.
Test the Work and Plan Maintenance
After installation, inspect all laps, terminations, corners, and fastener seals. Look for wrinkles, fishmouths, trapped air, inadequate adhesive coverage, and membrane tension across the joint. Any defect should be corrected before the area is released.
A controlled water test is useful where access and drainage conditions permit. For critical buildings, document the repair area with photographs, material records, joint dimensions, and test results. This provides a practical baseline for future maintenance and helps facility teams identify recurring movement or drainage issues.
Expansion joints should be checked during routine roof and facade inspections, especially after severe weather, major temperature changes, or nearby structural work. Clear debris from drainage paths, inspect exposed sealant for cracking, and address small edge separations early. Waiting for visible interior leakage usually means water has already traveled through concealed building layers.
For large roofs and industrial facilities, the most cost-effective repair is the one that treats the joint, adjacent waterproofing, drainage, and substrate condition together. Promax Contracting approaches expansion joint repairs through site inspection, system selection, professional installation, and responsive maintenance support - because a joint detail is only reliable when it continues to move and remains watertight.
A sound expansion joint should not look like a quick patch. It should be a planned, flexible connection that gives the building room to move while keeping water exactly where it belongs: outside.
Talk to Promax
Need this on your roof? Call +971 56 727 4205 or request a free inspection. Promax provides EPDM metal-roof, concrete and industrial waterproofing across Dubai and the UAE with up to a 15-year warranty.