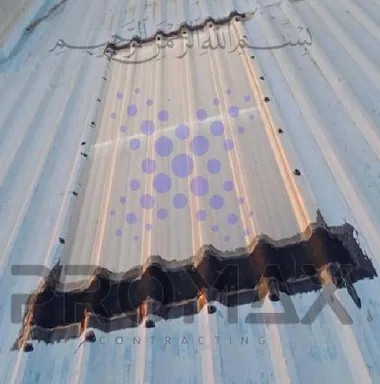
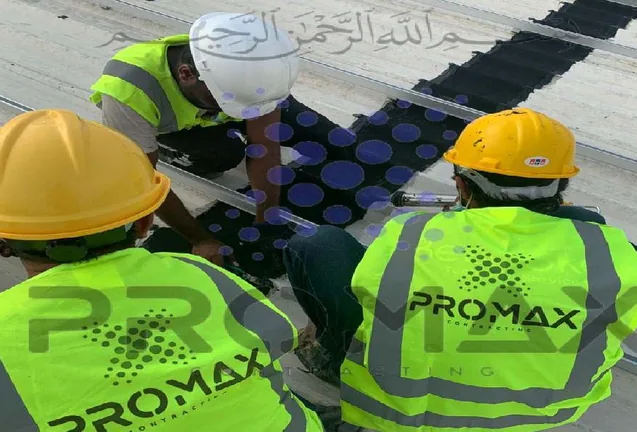
A roof leak that appears near an external wall is often not a roof-field failure. The problem may start at the parapet, where rainwater, UV exposure, movement, failed coping joints, and poorly terminated membrane layers create a direct path into the building. Knowing how to waterproof roof parapets correctly means treating the parapet as part of the complete roof envelope, not as a separate wall detail.
For warehouses, plants, storage facilities, and commercial buildings, parapet failures can cause wet insulation, corrosion at roof edges, stained internal walls, damaged stock, and repeated maintenance callouts. A proper repair begins with inspection and ends with tested membrane continuity, secure terminations, and controlled drainage.
Why roof parapets leak
A parapet is exposed on three sides: the roof-side face, the top coping surface, and the exterior face. This geometry creates more joints, corners, and terminations than a flat roof field. Water can enter through cracks in coping joints, open sealant, defective flashing, loose metal capping, or membrane edges that have pulled away from the vertical upstand.
Heat makes the issue worse. In high-temperature environments such as Dubai and across the UAE, roof materials expand and contract daily. A rigid repair applied over moving joints may split within a short period. Wind-driven rain can then enter behind the surface layer, travel through the parapet assembly, and emerge far from the original defect.
Drainage is another frequent cause. When roof outlets are blocked or the roof has inadequate falls, standing water places continuous pressure on the roof-to-parapet junction. Even a small weakness at the membrane termination becomes a leak path under ponding conditions.
Inspect the full parapet before selecting a system
Waterproofing should not start with sealant. First, inspect the entire roof perimeter and identify the actual route of water ingress. The visible stain inside the building is useful evidence, but it is rarely the exact entry point.
Check the roof membrane where it turns up the parapet. Look for blisters, cracks, wrinkles, punctures, open laps, loose edges, and areas where the membrane has detached from the substrate. Inspect internal and external corners closely. These details are often under stress and require reinforced treatment rather than a single flat sheet of membrane.
The parapet top must also be checked. Concrete coping, precast caps, metal capping, and stone covers all have joints that can fail. Look for missing sealant, cracked mortar, poor slopes, unsecured sections, and fasteners that have penetrated the waterproofing without proper washers or sealing. If there is metal capping, inspect for corrosion at overlaps and edges.
On the exterior face, check for cracks, failed render, open construction joints, and signs of water tracking below the coping. Verify that weep points, expansion joints, outlets, and scuppers are open and correctly detailed. A parapet repair cannot perform if water is being trapped above it or directed behind it.
Prepare the substrate properly
Surface preparation determines whether the new waterproofing bonds, remains stable, and survives thermal movement. Remove failed membrane, loose coatings, deteriorated sealant, dust, rust, algae, and weak concrete. Any hollow or damaged render should be repaired before membrane installation.
Concrete cracks should be assessed before they are filled. Hairline surface cracking may be handled with compatible repair material and membrane reinforcement. Active cracks or movement joints need flexible joint treatment that can accommodate movement. Covering an expansion joint with rigid mortar or coating simply transfers the crack into the new system.
The parapet surface must be dry enough for the selected product. Moisture trapped beneath a bonded membrane can create blistering and loss of adhesion. On older roofs, a contractor should also check whether existing layers are compatible with the proposed primer, adhesive, coating, or membrane. Applying a new system over unknown failed materials is a common source of repeat failure.
How to waterproof roof parapets with membrane upstands
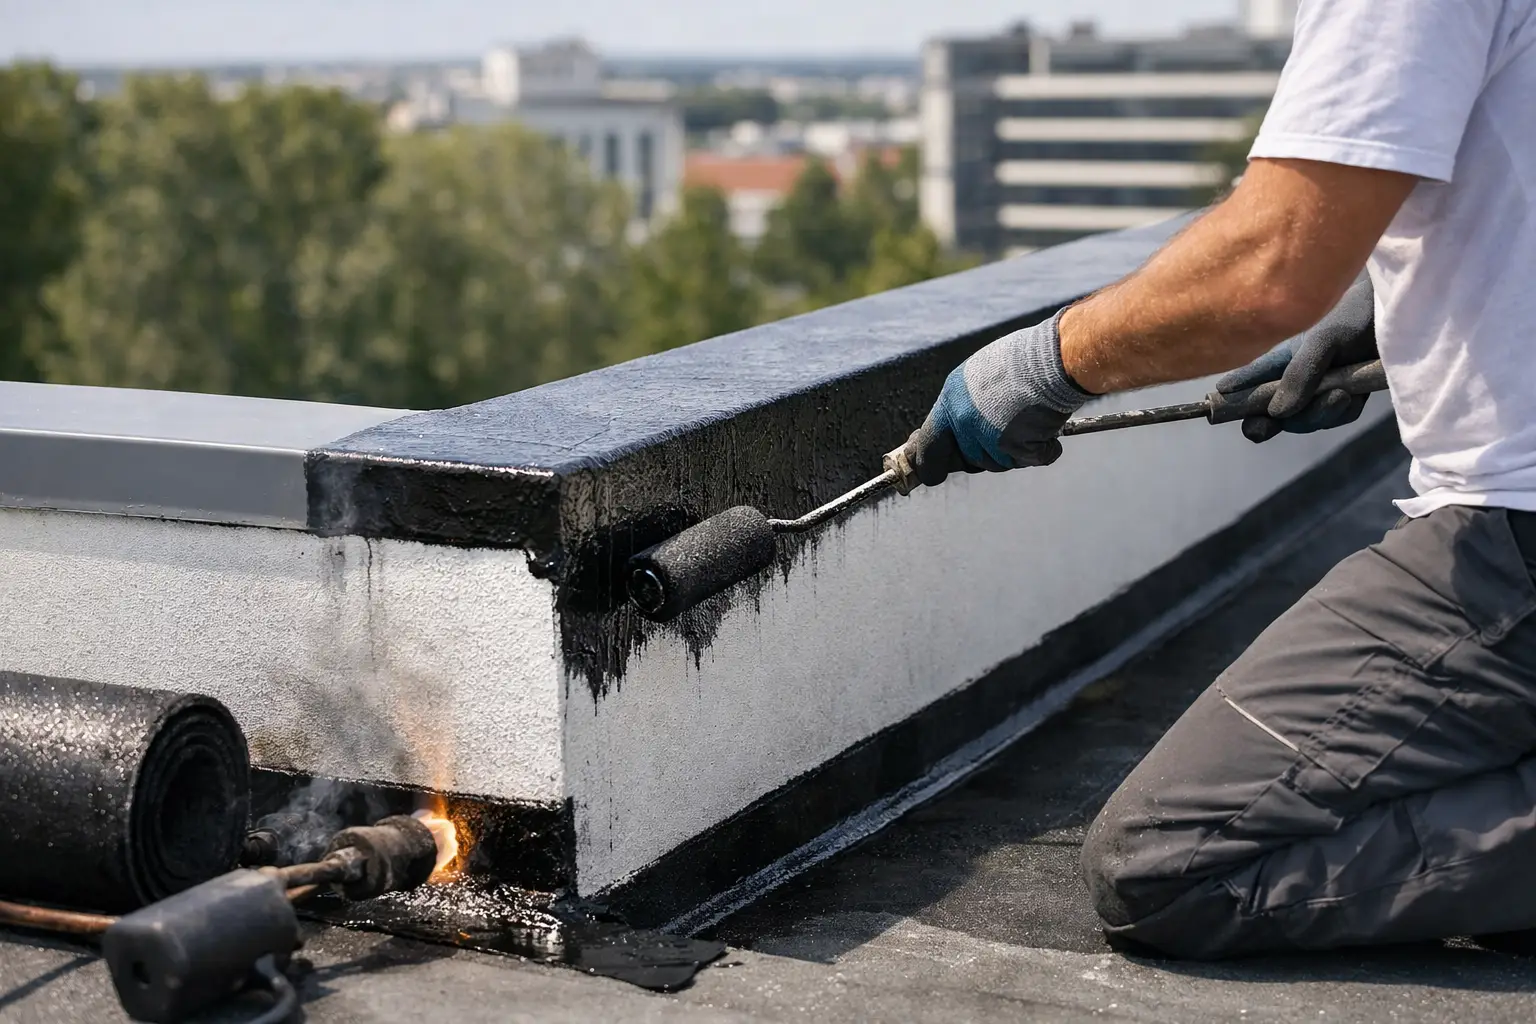
The most reliable method is usually to extend the roof waterproofing membrane continuously from the horizontal roof field up the parapet face. This creates a connected waterproof layer rather than relying on a narrow bead of sealant at the roof edge.
The required upstand height depends on roof design, drainage arrangement, exposure, and local project requirements. As a practical rule, the membrane must rise high enough above the finished roof level to remain protected from ponding water, splashback, and debris accumulation. The membrane should not stop at the lowest point where water can collect.
EPDM systems are widely used for roof rehabilitation because they remain flexible, resist UV exposure, and accommodate building movement when correctly detailed. For parapet work, the membrane is installed over a prepared and primed substrate, then bonded or mechanically fixed according to the system design. Seams, corners, and transitions require compatible tapes, adhesives, and prefabricated or site-formed flashing details.
At the top edge of the upstand, the membrane needs a secure termination. This may involve a termination bar, mechanically fixed edge detail, counterflashing, or a coping arrangement that protects the membrane from weather and mechanical damage. The termination should be sealed, but sealant is a secondary weathering component, not the only barrier holding the system together.
Treat corners, joints, and penetrations as separate details
Corners cannot be waterproofed reliably by folding a flat membrane without planning the overlap pattern. Internal corners, external corners, and changes in level should receive reinforced flashing pieces that avoid fishmouths, open folds, and unsupported edges.
Where the parapet includes steel posts, pipe supports, handrail brackets, access-system fixings, or service penetrations, each penetration requires an individual sealing detail. Fasteners through a parapet cap or membrane upstand must be minimized. When unavoidable, they need compatible sealing washers, properly formed flashing, and corrosion-resistant components.
Movement joints should remain functional. Use a flexible membrane bridge or engineered joint system that allows controlled movement while maintaining water tightness. Never fill a designed movement joint solid and assume a surface coating will solve the problem.
Protect the parapet top and coping
A membrane upstand alone may not solve leakage if the parapet top is open to water. Coping and capping should shed water away from the wall faces and prevent water from entering at joints. The top surface needs a positive slope, secure edge protection, and properly sealed overlaps.
Metal coping can be effective when fabricated with adequate laps, drips, expansion allowance, and secure fixings. However, metal edges are vulnerable where screws loosen, sealant fails, or corrosion develops around laps. Concrete coping requires sound joints and a waterproof layer beneath or over the cap, depending on the selected detail.
For severely deteriorated parapets, a complete system may include membrane upstands, new metal coping fabrication, corner flashings, and upgraded drainage outlets. This costs more than applying a coating at the visible crack, but it addresses the connected defects that cause recurring water ingress.
Do not overlook drainage at the roof edge
Parapet waterproofing and drainage work together. Clean roof outlets, scuppers, gutters, and overflow provisions before completing repairs. If water regularly ponds against the parapet, investigate blocked drains, insufficient roof slope, or undersized outlets.
Scuppers passing through parapets need particular attention. The waterproofing membrane should be dressed continuously into the scupper throat and secured so that water cannot travel behind it. The exterior discharge point must also be protected from backflow and corrosion. A leaking scupper can saturate the parapet core even when the roof membrane itself appears sound.
Quality checks after installation
A professional installation includes inspection during the work, not only after a leak returns. Check adhesion at membrane upstands, seam integrity, corner reinforcement, termination-bar alignment, fastener spacing, and sealant continuity. Confirm that no sharp edge, exposed screw, or loose cap can damage the membrane under wind movement.
Where practical, conduct controlled water testing after the system has cured or bonded as required by the manufacturer. Test one area at a time so any issue can be traced and corrected. Roof drainage should then be rechecked to confirm that water flows to outlets without collecting at the parapet base.
Document the repaired areas, materials used, and maintenance recommendations. This helps facility teams identify future changes, coordinate rooftop works, and avoid accidental membrane damage during equipment installation.
Plan maintenance before the next rainy period
Parapets are easy to ignore until water reaches the interior. A scheduled roof inspection before seasonal rain and after major weather events is far less disruptive than emergency leak repair. Remove debris, check coping joints, inspect membrane terminations, and address small defects while they remain localized.
For facilities with aging roofs, repeated perimeter leaks, or visible parapet deterioration, request a detailed site inspection rather than approving another temporary sealant patch. Promax Contracting can assess the roof edge, membrane condition, drainage details, and required fabrication work as one coordinated repair scope. The right parapet detail is the one that keeps water moving away from the building and leaves no unprotected route back inside.
Talk to Promax
Need this on your roof? Call +971 56 727 4205 or request a free inspection. Promax provides EPDM metal-roof, concrete and industrial waterproofing across Dubai and the UAE with up to a 15-year warranty.