A rust stain around a fastener can look minor from ground level, yet it may be the first visible sign of a leaking lap joint, deteriorated coating, or thinning metal panel. To restore rusted roof sheets safely, facility teams need more than wire brushing and repainting. The work must begin with safe access, a clear assessment of sheet condition, and a repair system that addresses corrosion, water entry, and future maintenance together.
For warehouses, factories, storage buildings, and large commercial facilities, roof restoration is often performed while operations continue below. That makes planning as important as material selection. An uncontrolled repair can create fall hazards, expose personnel to sharp corroded edges, send debris into active work areas, or trap moisture beneath a new coating.
Start With a Roof Condition Assessment
Rust is a symptom, not a diagnosis. Before any surface preparation starts, inspect the full roof area, not only the visibly corroded locations. Water commonly enters through fasteners, side laps, end laps, flashing transitions, gutters, penetrations, and areas where water ponds after rainfall or washdown.
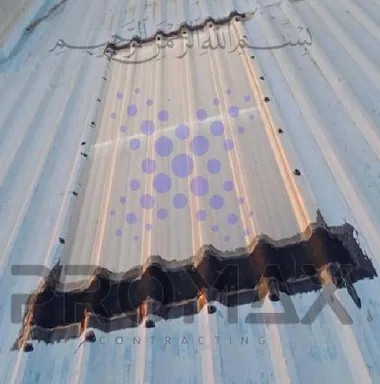
A competent inspection should identify whether corrosion is superficial, localized, or structural. Surface rust generally affects the coating and upper metal surface but has not materially reduced the sheet thickness. Localized corrosion may include pitting around screws, laps, cut edges, and drainage paths. Structural corrosion is more serious. It can leave the sheet perforated, weakened under foot traffic, or unable to carry expected wind and maintenance loads.
Inspect from the roof and from inside the building where possible. Interior staining, wet insulation, corrosion at purlins, and daylight visible through roof sheets are all indicators that the problem extends beyond the outer coating. Test suspect areas carefully. A roof sheet that flexes excessively or feels soft must not be used as a walking surface.
Documenting the condition by roof zone helps control cost and scope. Mark failed sheets, loose fasteners, damaged flashings, blocked drainage points, and areas requiring replacement. This prevents a common mistake: applying a coating across an entire roof while leaving the actual leak paths untreated.
Safe Access Comes Before Rust Removal
Metal roofs become dangerous when wet, dusty, heat-stressed, or corroded. A safe restoration plan starts with a site-specific access method rather than assuming the roof can support normal foot traffic.
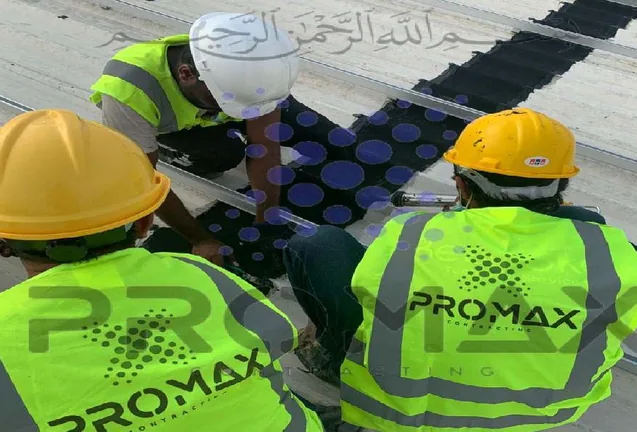
Use approved access routes, edge protection, lifelines or other fall-arrest systems where required, and designated walkways that spread load across the roof structure. Workers need suitable footwear, gloves, eye protection, and clothing that protects against sharp edges and airborne dust. If grinding, mechanical cleaning, or chemical treatment is involved, the work area also requires controlled exclusion zones below.
Weather matters. Do not schedule coating or repair work during rain, high winds, or conditions likely to create condensation on the metal. In high-heat environments, sheet temperatures can rise far above ambient air temperature. This affects worker safety and can cause primers, sealants, and coatings to flash off too quickly or fail to bond as designed.
Before work begins, isolate rooftop services where necessary and confirm that nearby skylights, fragile panels, and penetrations are protected. Skylights are not walking surfaces. Their location should be clearly marked and included in the access plan.
How to Restore Rusted Roof Sheets Safely
The correct method depends on the severity of corrosion and the existing roof system. Still, a reliable restoration sequence follows the same principle: remove failed material, stabilize the substrate, stop water entry, and apply a compatible protective system.
Clean the Roof Without Driving Water Inside
Loose dust, leaves, standing water, and debris must be removed first. Clear gutters and drainage channels so cleaning water can leave the roof correctly. If pressure washing is used, control the direction and pressure so water is not forced uphill into side laps, end laps, vents, or flashing joints.
Cleaning also reveals defects that dirt can hide. Look closely at screw heads, lap edges, cut metal edges, and areas behind equipment supports. Oil, chalked paint, and loose coating residue can prevent adhesion even where the metal appears sound.
Remove Loose Rust and Failed Coating
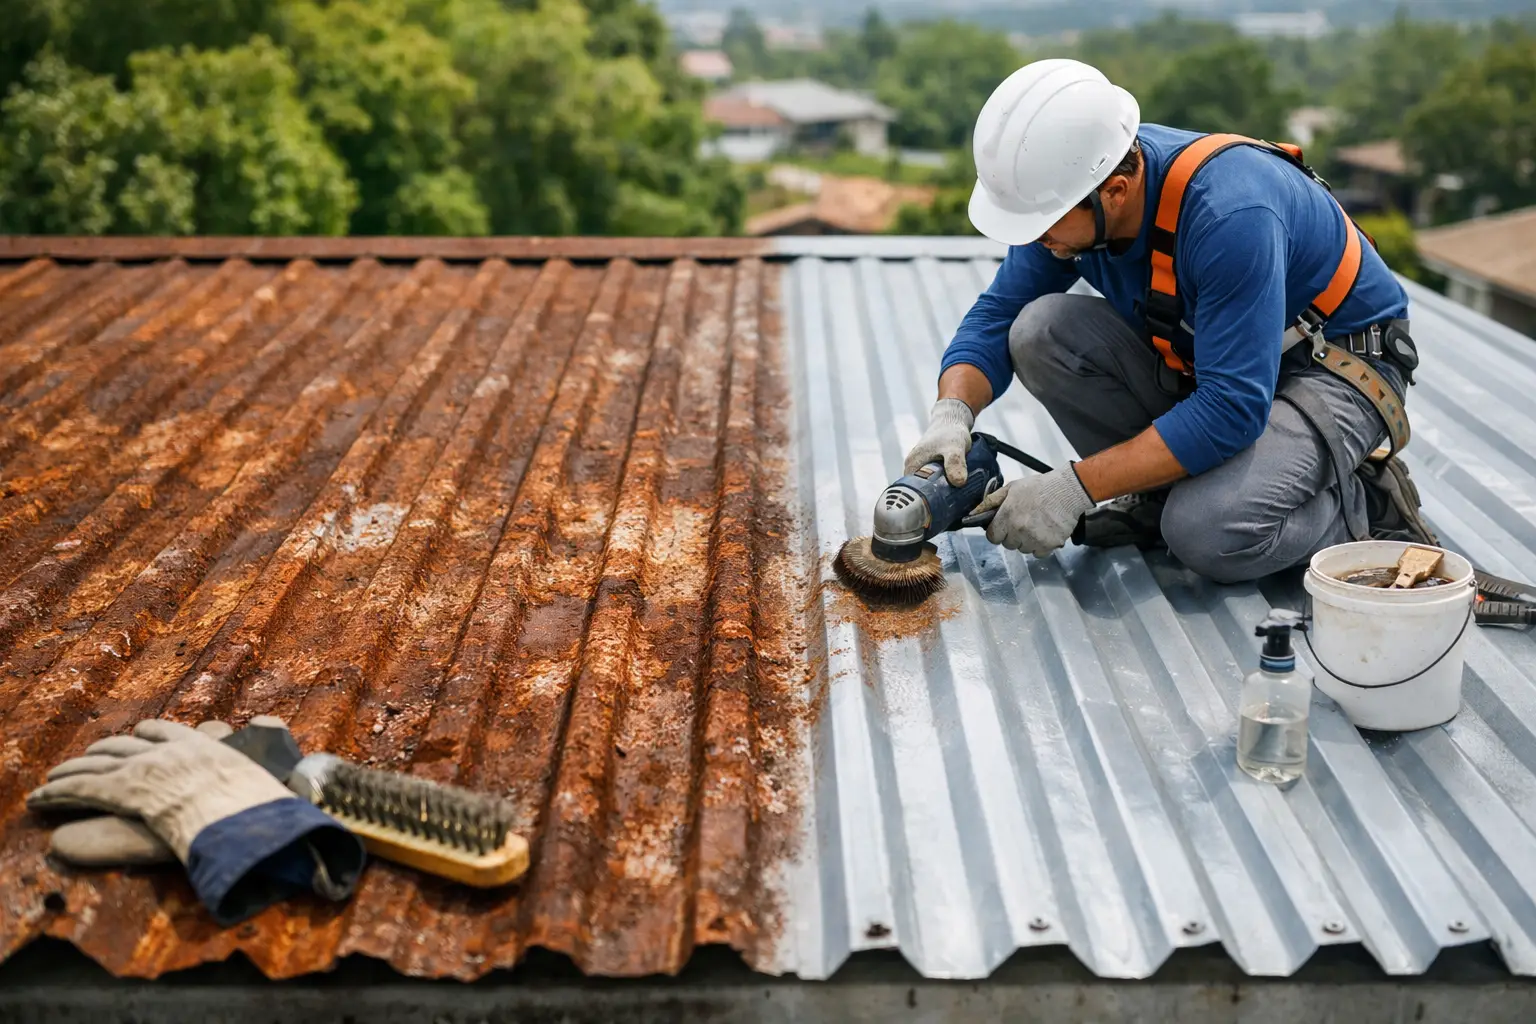
Surface preparation must match the repair system and the condition of the sheet. Loose scale, peeling paint, blistered coating, and powdery corrosion should be removed by suitable mechanical methods. Avoid aggressive grinding that thins already weakened metal or damages protective coatings beyond the repair area.
The aim is a clean, stable surface with feathered coating edges, not a visually perfect finish at the expense of sheet integrity. Where corrosion has produced holes, deep pitting, or loss of profile stiffness, cleaning alone is not restoration. Those sheets should be repaired with engineered details or replaced.
All dust and debris generated during preparation should be collected and removed from gutters, roof valleys, and operating areas. Leaving metal particles in drainage channels accelerates localized corrosion and creates avoidable maintenance problems.
Treat Corrosion Before Applying Protection
After preparation, apply a corrosion-control primer or treatment specified for the roof substrate and the chosen top system. This is particularly important at exposed cut edges, screw zones, laps, and locations where bare metal is visible.
Compatibility is critical. A primer that performs well under one coating may not bond correctly with another membrane, sealant, or topcoat. Confirm the manufacturer’s preparation standard, dry-film requirements, recoat window, and curing conditions. Skipping these checks can produce a roof that looks repaired but begins peeling after the first severe weather cycle.
Do not coat over damp metal. Moisture trapped beneath a coating can continue corroding the sheet from below and may cause blistering, delamination, and recurring leaks.
Repair Fasteners, Laps, and Penetrations
Most sheet roofs fail at details, not in the middle of a panel. Replace corroded, loose, or incorrectly seated fasteners with approved fastening components. Each replacement fastener must engage sound supporting material. Simply installing a larger screw into deteriorated metal may create a temporary seal but does not guarantee long-term pull-out resistance.
Treat each lap joint as a waterproofing detail. Clean and dry the joint, restore secure fastening where needed, and use the specified sealant, tape, or reinforcement detail. Penetrations around pipes, ducts, supports, and roof-mounted equipment require the same attention. A broad coating cannot compensate for an open penetration flashing or a failed transition joint.
For large facilities, it is often practical to divide repairs into zones. Critical leak areas and active operational spaces can be prioritized, while sound zones receive preventive treatment during scheduled maintenance windows. This reduces disruption without reducing the quality of the repair.
Apply the Protective Roof System
Once sheet repairs and detail sealing are complete, apply the selected protective system at the correct coverage rate. Depending on the roof design and condition, this may include a primer, reinforced waterproofing treatment at joints, and a protective topcoat or membrane system.
The choice depends on roof slope, drainage performance, existing coating type, thermal movement, corrosion level, and expected service conditions. A low-slope roof with recurring ponding requires a different approach from a steep metal roof with isolated fastener corrosion. If panels are widely perforated or support members show deterioration, replacement and structural repair should be considered before any waterproofing application.
Promax Contracting approaches this work as a complete roof rehabilitation scope: inspection, access planning, metal treatment, sheet and purlin repair where required, waterproofing details, and maintenance support. This is more reliable than treating corrosion and leakage as separate problems.
Know When Restoration Is No Longer the Right Answer
Restoration offers good value when the sheets remain structurally sound and corrosion is limited to the surface, fasteners, laps, and localized details. It becomes a poor investment when rust has perforated multiple panels, the metal has lost stiffness, or hidden deterioration has reached supporting members.
Replacement may also be the better option if the roof has repeated coating failures caused by poor drainage, unsuitable sheet profile, or widespread movement at laps. The decision should be based on inspection findings, not on the lowest immediate price. Recoating a roof that needs replacement can shift costs forward while increasing the risk of water damage and emergency shutdowns.
Plan Maintenance Into the Repair Scope
A restored roof needs inspection before small defects become major failures. Schedule regular checks after severe weather and at planned intervals based on the building’s exposure. Focus on drainage, fastener condition, sealed laps, penetrations, coating damage, and signs of fresh corrosion.
Keep the roof clear of debris and avoid unplanned foot traffic across metal sheets. When other trades need rooftop access, use designated routes and require them to report any disturbed flashings, fasteners, or surface damage. A short repair completed early is safer and less costly than a leak response carried out during a storm.
The best time to act is when corrosion is still localized and the roof can be repaired under controlled conditions. Safe access, correct preparation, and disciplined detailing turn rust treatment from a cosmetic patch into a durable asset-protection measure.
Talk to Promax
Speak to Promax for expert help in Dubai & the UAE. Call +971 56 727 4205 or request a free consultation for metal-roof waterproofing, industrial roofing and concrete & structural waterproofing.